WordPress App on Ubuntu 14.04 LTS
We have built a ready-to-go application image which offers you the latest WordPress release running on an optimized Apache, PHP and MySQL stack. You don’t need any knowledge in managing your server, all you need to do is simply create it on your cloud account.
Deployment
You can create your WordPress server easily using our CloudConsole control panel, OpenStack CLI tools or API access. We are going to cover on how to do it using both our control panel and OpenStack CLI tools for developers.
You will need to be logged into your customer center in order to proceed with this. Once you are logged in, click on “Servers” from the sidebar and then click on the “Launch Server” button. You should arrive to a screen similar to the one below:
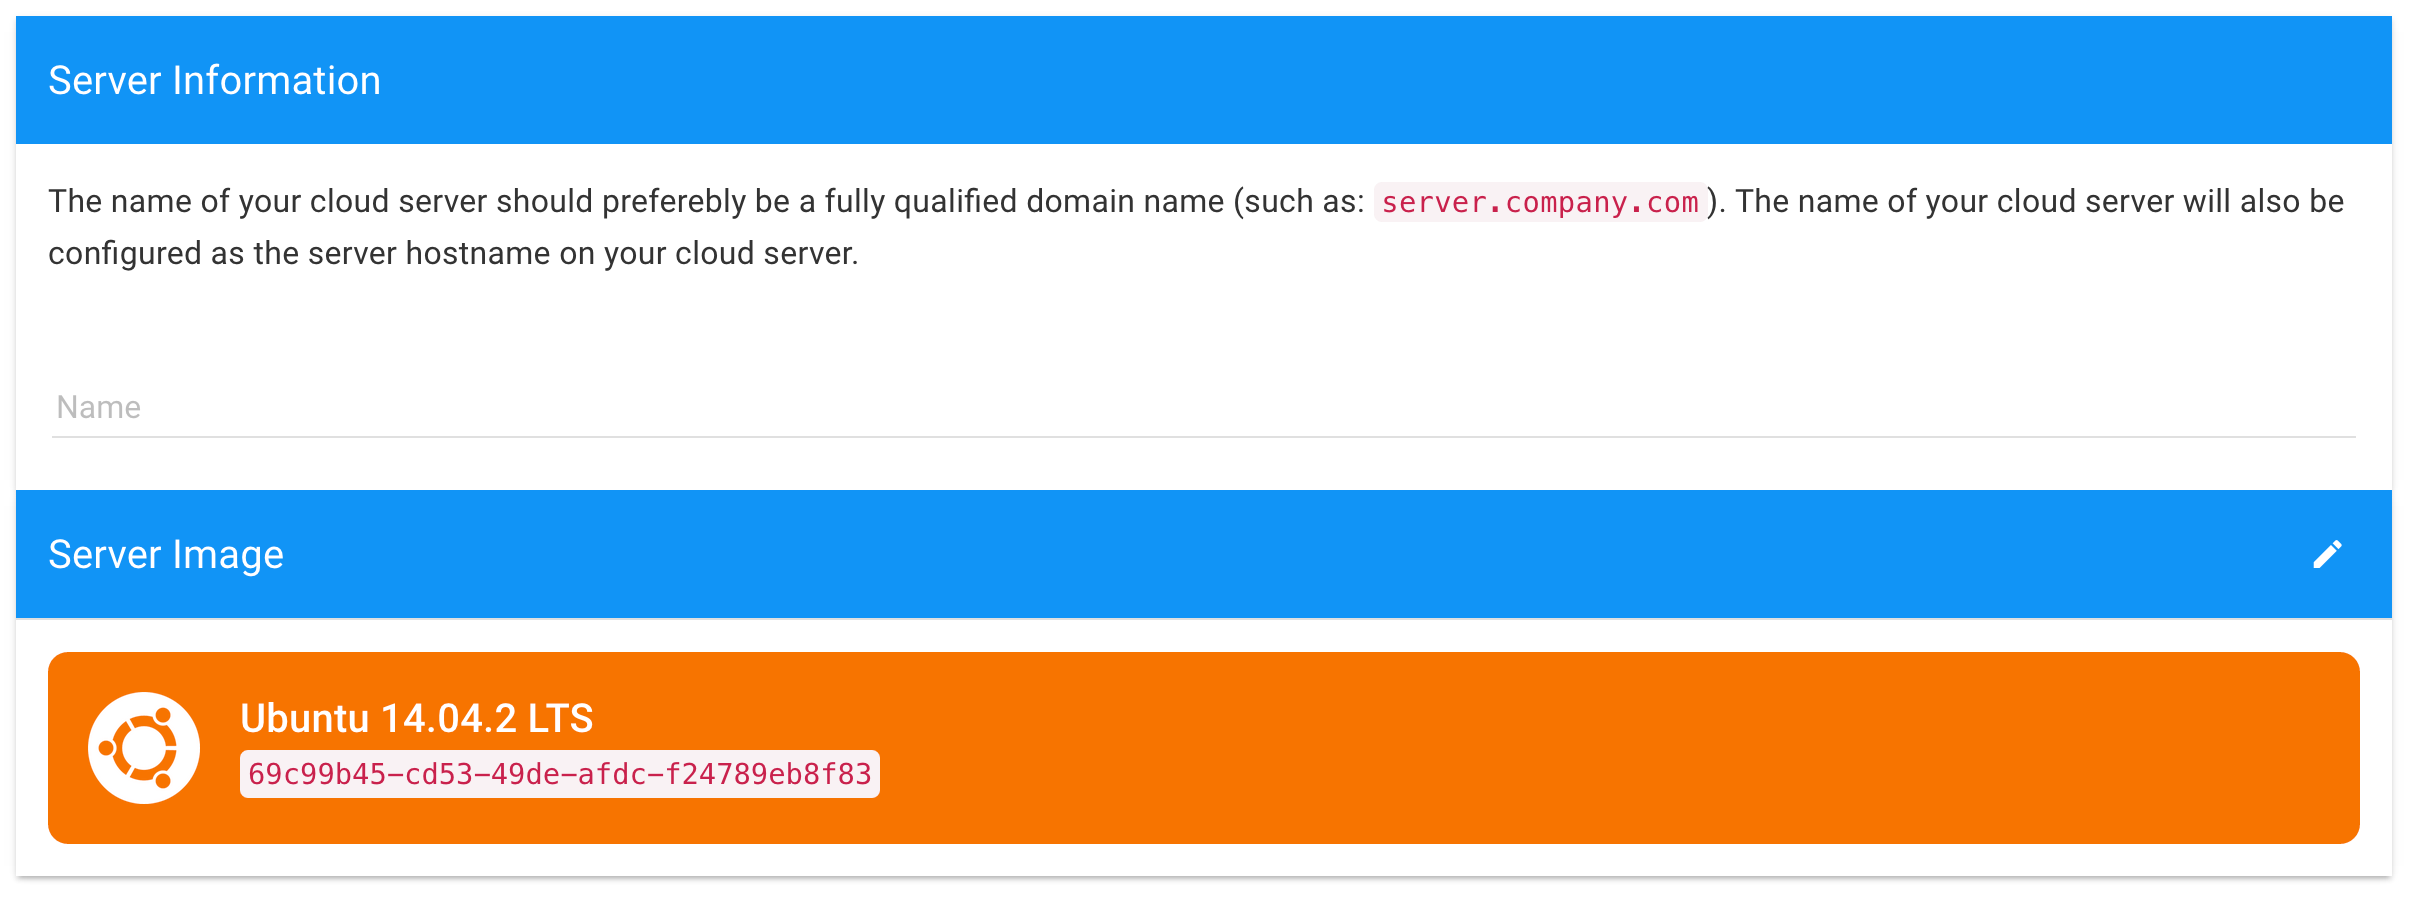
From that page, enter the name of your server. If your domain name is myblog.com, it is best to go with something like server.myblog.com. This does not necessarily have to be the same as the domain name of the blog you’ll be hosting.
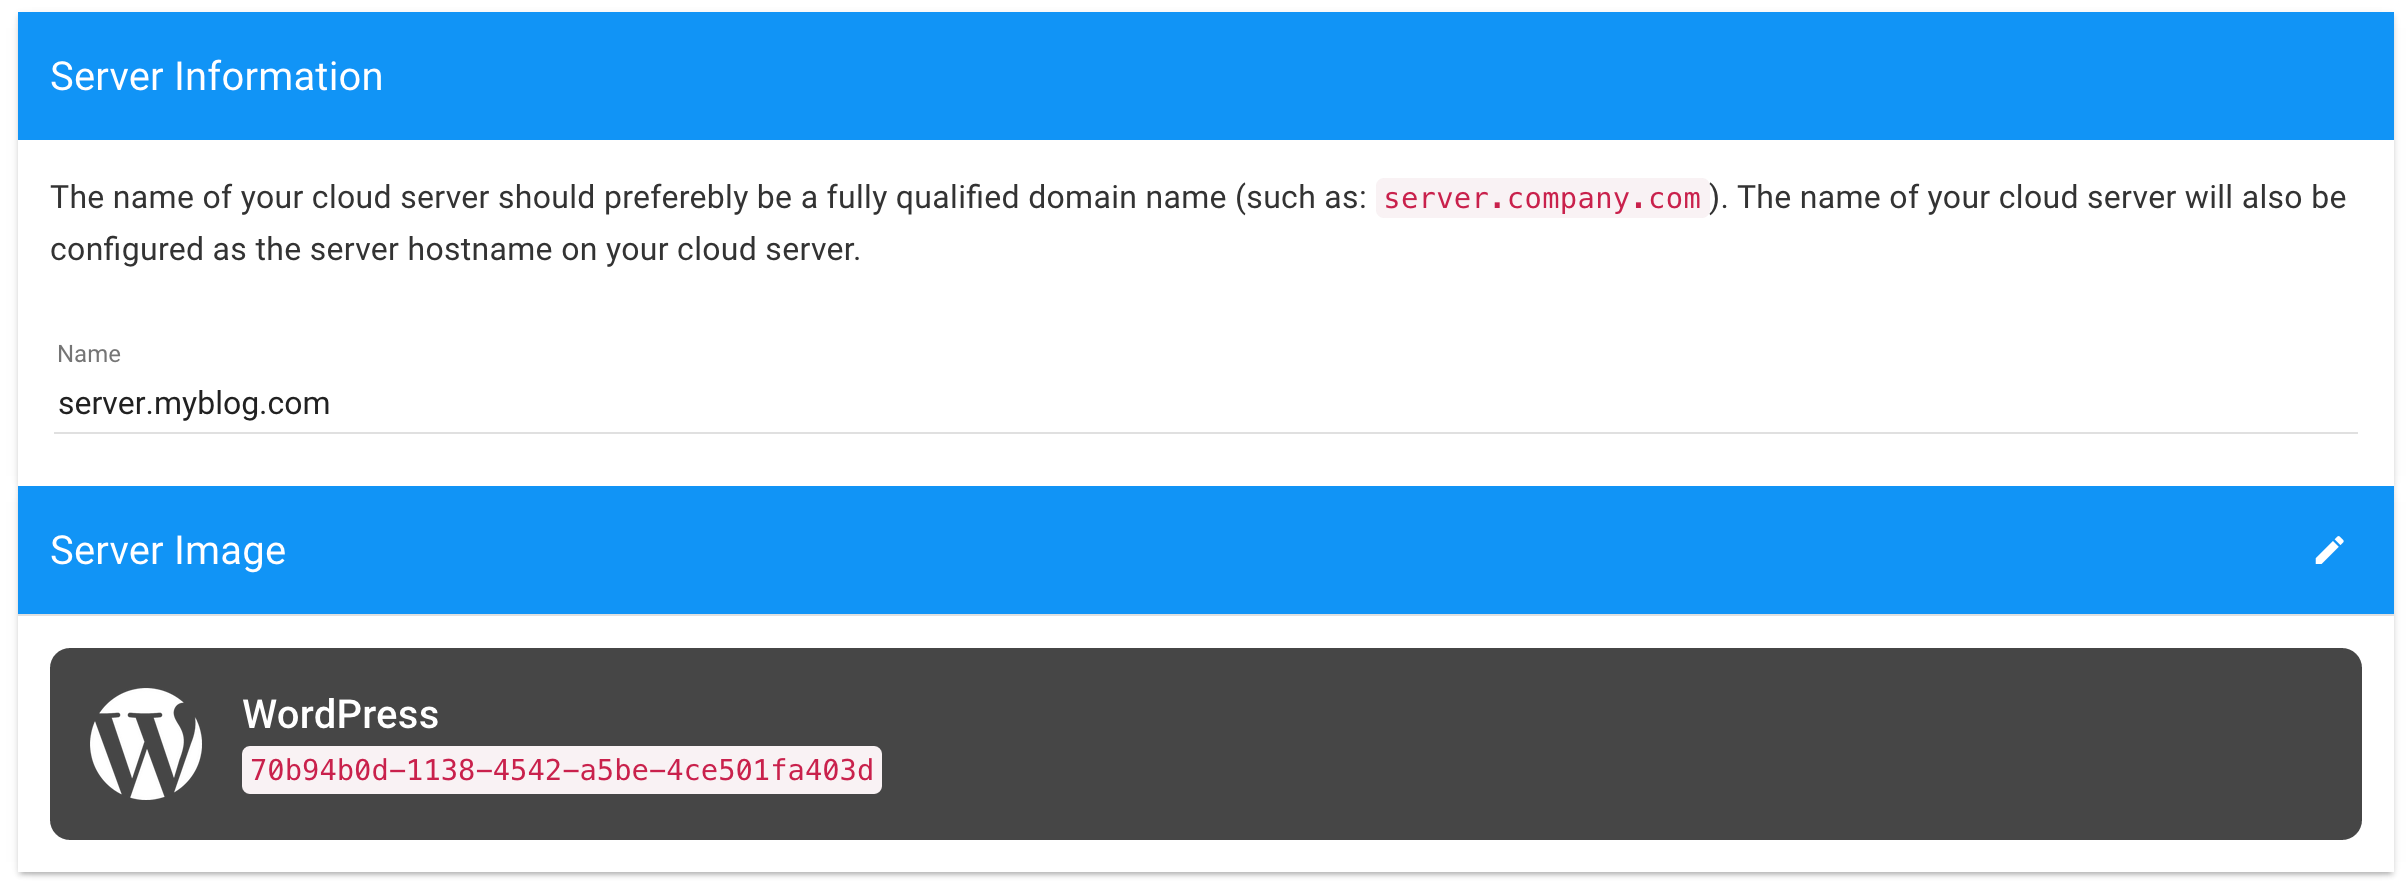
Once you have done that, click on the pencil icon next to “Server Image” to show the list of all images available. Click on the “Apps” tab and then select WordPress from the list. Your server information and image section should look something like the one below:
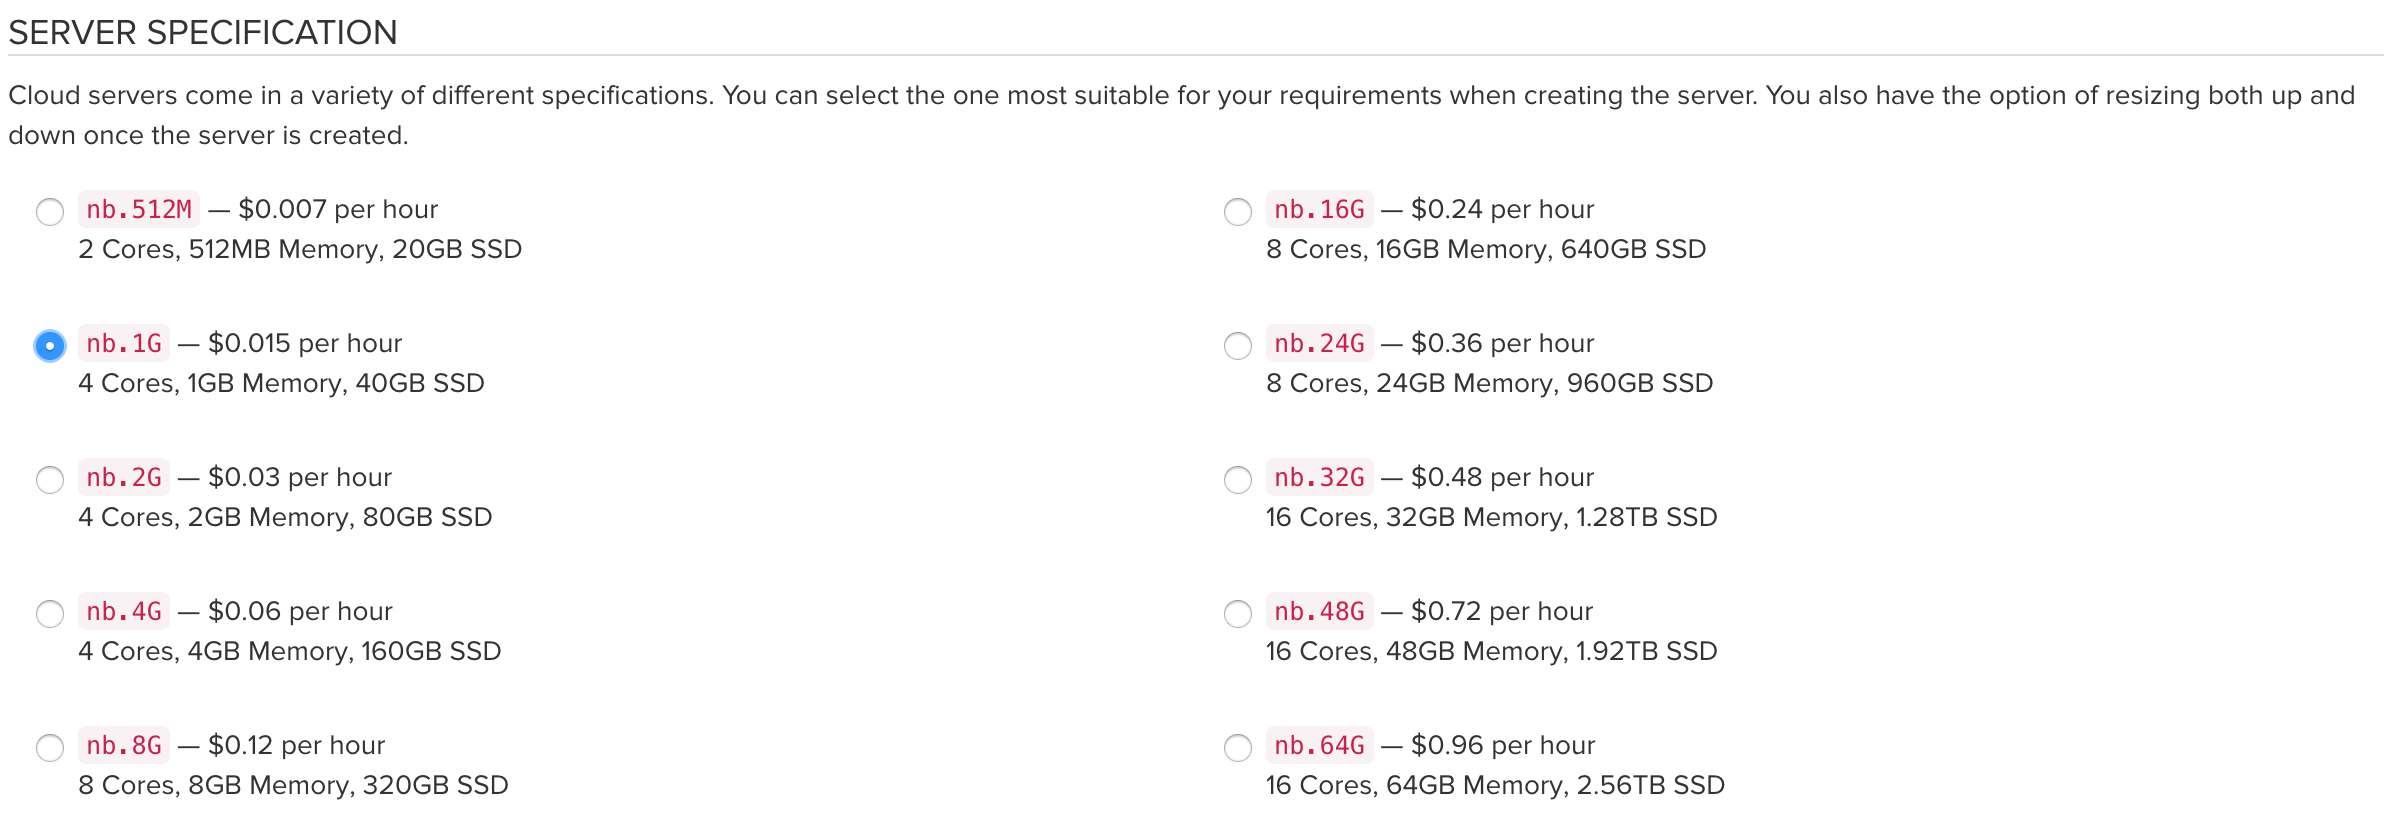
The next step is to select the specifications of the server that you need to launch. It is usually recommended to go with a nb.1G server at least, as running a MySQL database on a server with 512MB of memory only tends to cause problems.
You can leave the rest of the options at the defaults if you are not familiar with them, or you can configure them to your exact needs. Once you are done, click on “Create Server” and your WordPress will be created.
You will need to make sure that your CLI tools are properly configured and installed. You can check our tutorial on how to setup the OpenStack CLI tools if you need help with that. Once then, you can setup the new WordPress server easily.
$ nova boot --poll --image WordPress --flavor nb.1G server.wordpress.com
You will have to replace a couple of values in the command above. Primarily, you will have to select one of the available flavors, you can get the entire listing by running `nova flavor-list`. You can replace `server.wordpress.com` by the name of your server as well.
You can provide an SSH keypair by using the `–key-name` option to use passwordless SSH access. If you don’t provide a key, please note of the `adminPass` value from the result of the command above as this will be your `root` password and it will never be displayed again.
You may need to wait for a few seconds as your server completes the provisioning process, which includes installing the latest release of WordPress and configuring your database. Once your server state is ACTIVE, you can now move onto the next step.
Installation
Once the server is deployed, you will have to setup your DNS to point your domain name to your new server. If you need help with that, you can search our resources for more information on how to use our Cloud DNS service. You’ll have to navigate to the domain name which you pointed in your browser, so if you are using myblog.com, then open myblog.com in your browser.
If you do not have the domain name pointing yet, you can still complete the setup by accessing your server’s IP address directly, which you can find in your “Overview” tab under “Network Details”. You will need to navigate to that IP address in your browser by entering it in your address field.
You will first be greeted with a simple form asking you which language you would like to use to complete your installation, select the language of your choice.
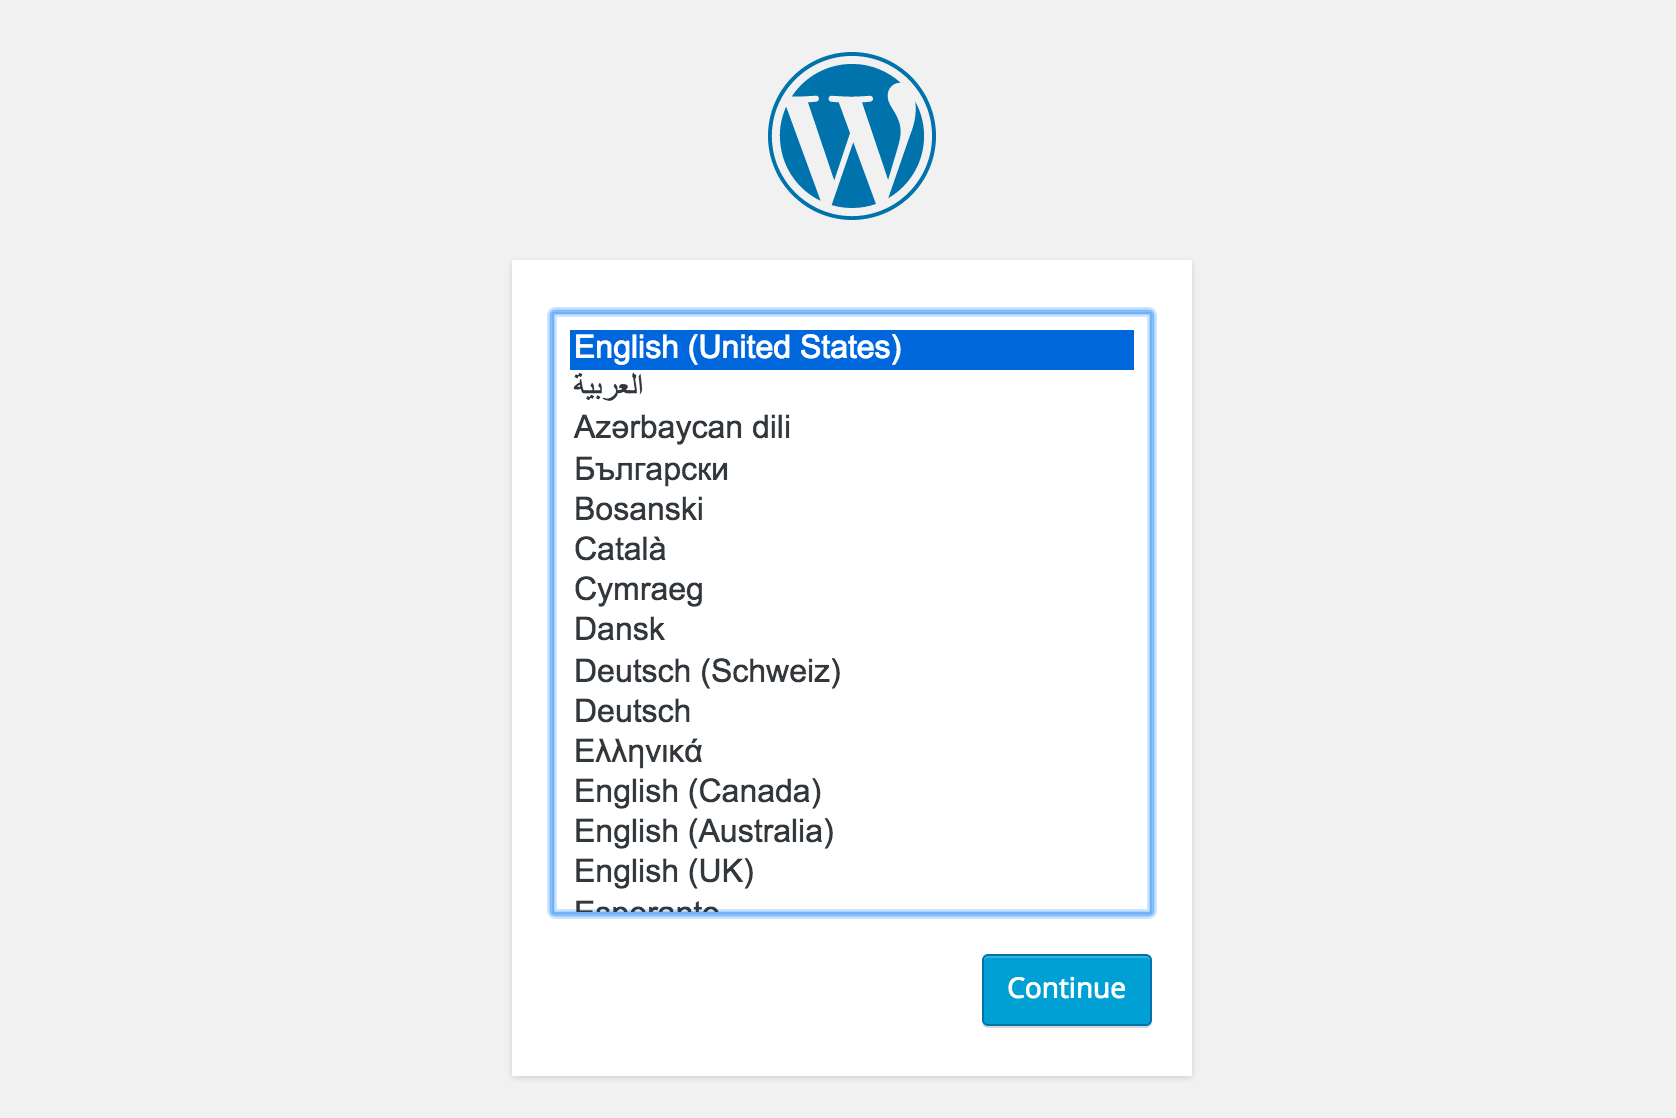
Once you have made that choice, you’ll have to fill out some basic information about your blog to complete the installation, the form should be pretty straightforward.
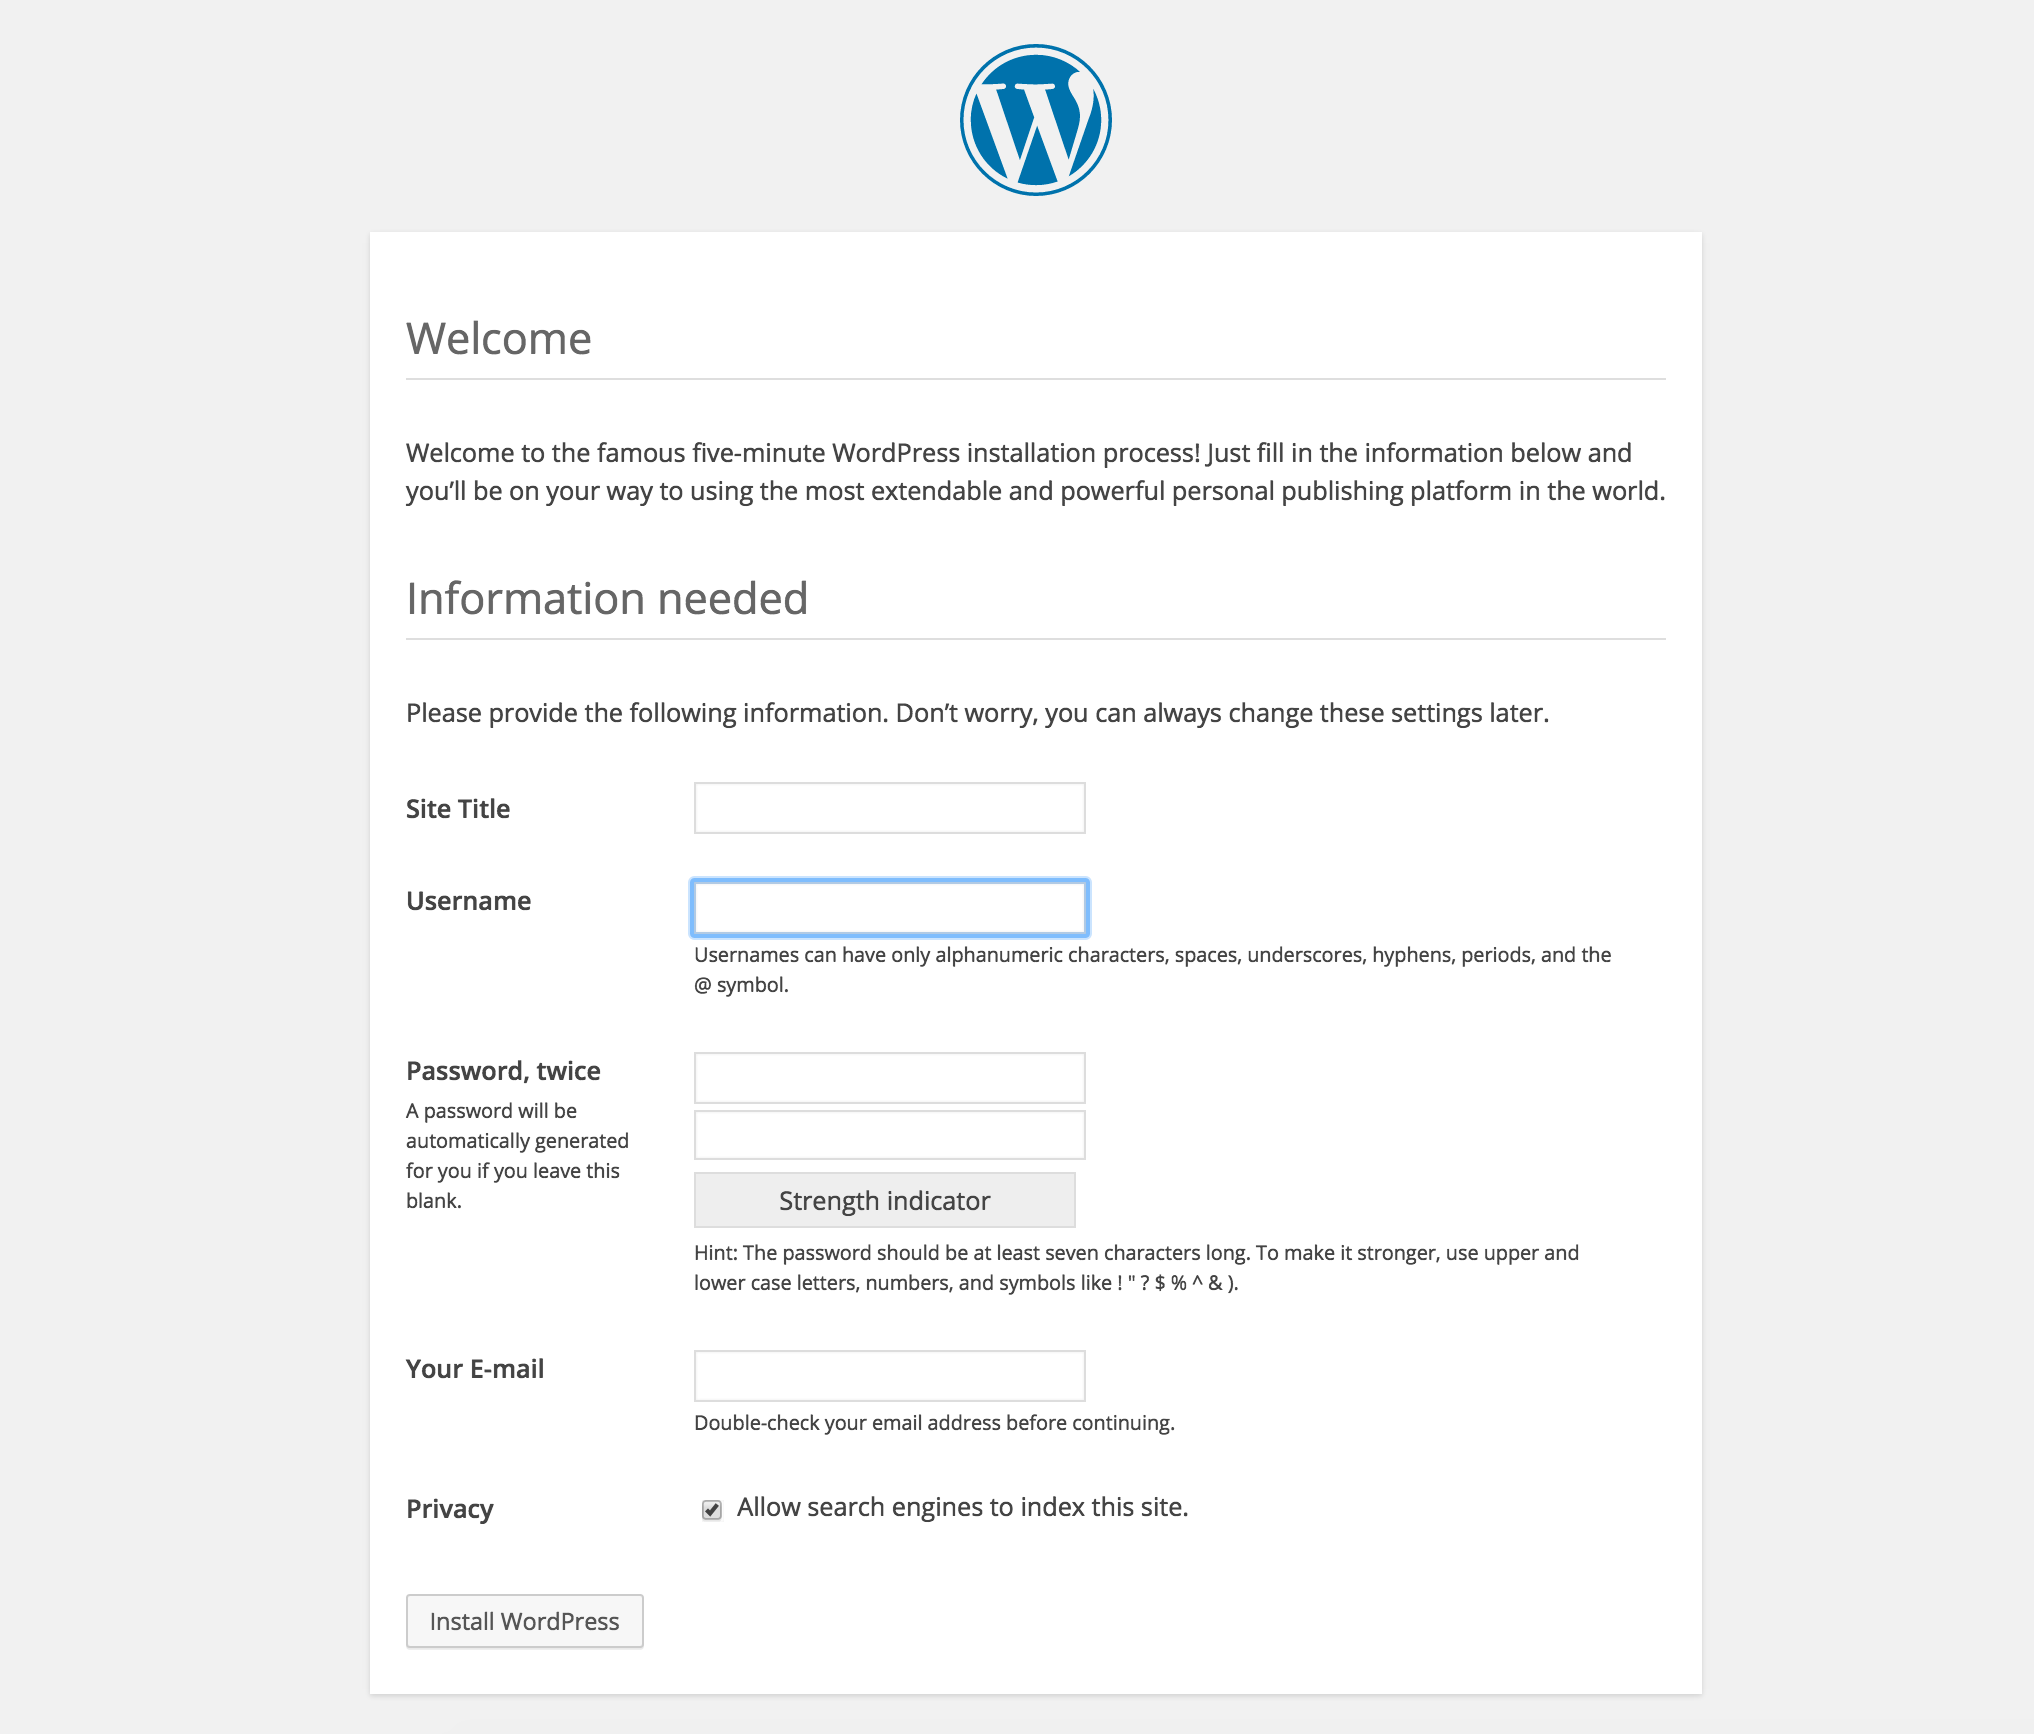
Once that is done, your WordPress installation will be fully setup and ready to go. You can continue to login with the new account which you’ve just created.
IP Installation Notes
WordPress takes the hostname used when installing and configures that as the website URL. If you have installed WordPress by directly accessing the IP address of the server, it is likely considered that your website IP is your actual URL.
Once you point your domain name to your server properly, you will be able to fix this by logging into your WordPress administration portal and going to Settings and then General. From there, update the WordPress Address and Site Address to your domain name, such as http://myblog.com.